
The scope that I use is TAL-250K, manufactured in Novosibirsk, Russia. Main parameters are: This is all spheric surfaces design that uses Mangin mirror with a menisk lens in front of it. It is easier in manufacturing than Schmidt-Cassegrain as there is no aspheric surfaces, and it does not have full aperture size refractive elements as any Maksutov designs. It also has open tube that is very useful for fast cooling of the scope, cold air directly contacts with the primary mirror. The drawback is contamination of the optics inside the tube, but the coatings are strong enough to have a cleaning once a year. Another benefit of the tube design is a very high stability of the collimation. I have sent the scope from Novosibirsk to Moscow by train (it is more than 3000km) and it arrived with the perfect factory collimation. I have collimated it only once just by slight touching of the adjustment screw, and it keeps collimated since than. I still don't have any permanent dome or a pavillion with the rolling roof, so I have to keep the scope at home at room temperature. Usually temperature during imaging is from 10C to 35C lower than room temperature, so the cooling system is a must for a fast preparation of the scope for the session. Open tube is easier to vent, but active ventillation is bringing a dust to optics, so filtering of the air is desirable. |
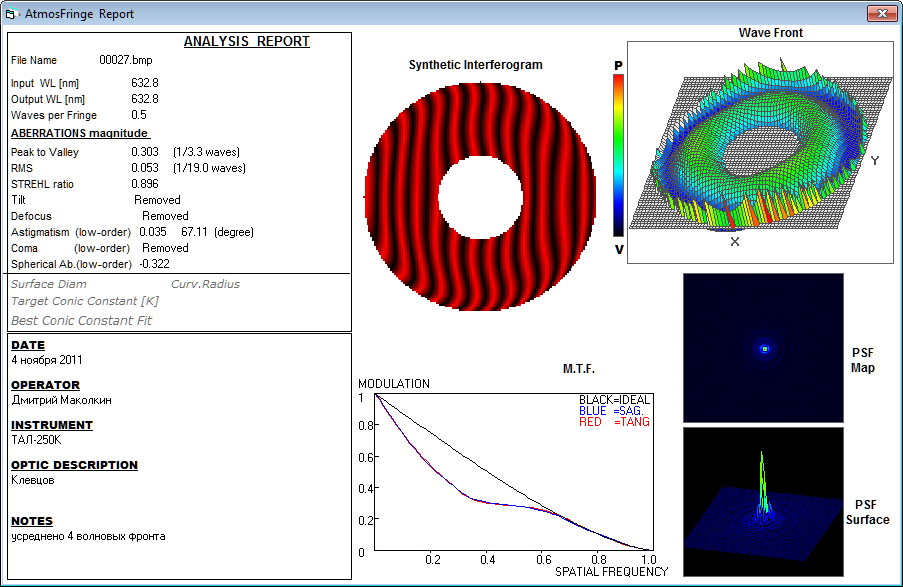
| Some time ago I had a possibility to test my scope at the interferometer. Here is a video of the interferogram. |
Here are the results of the several frames processing. Averaging of the wavefronts was done to exclude air currents influence.
|
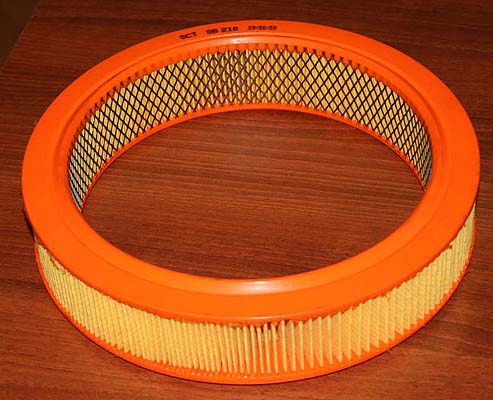
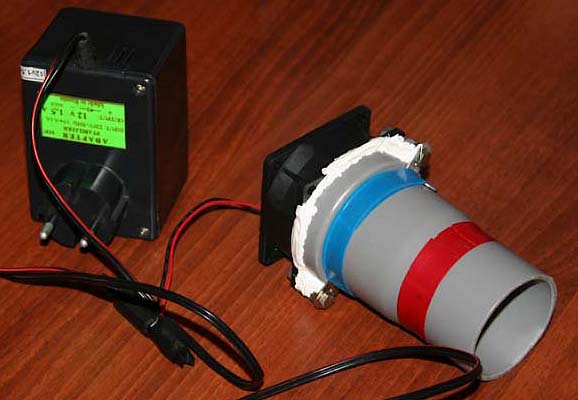
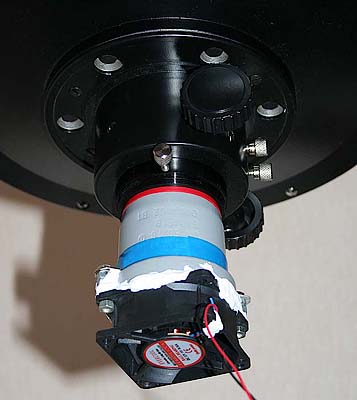
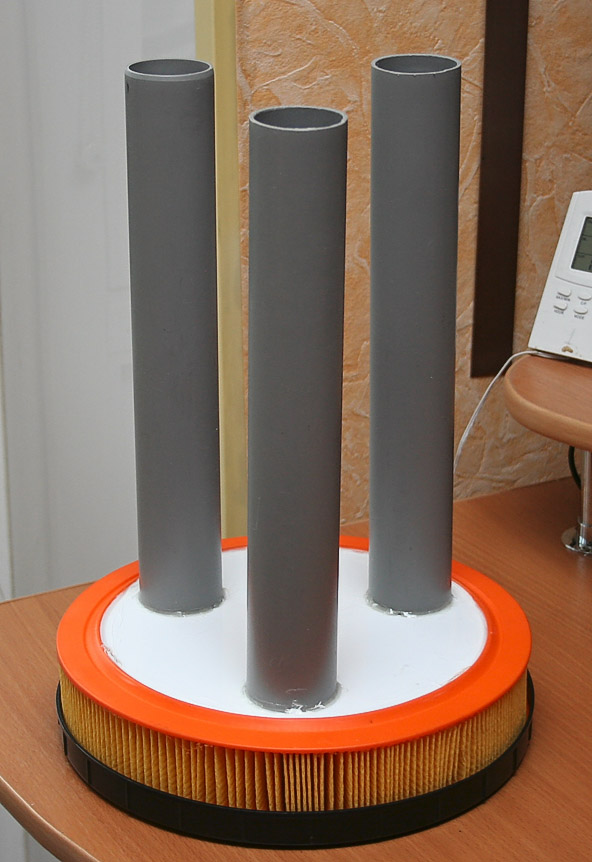
| Here is a ventilation assembly, I have made it of car air filter of suitable size. 12V ventilator for computer and a piece of plastic tube that fits 2" focuser. Design is obvious and very useful: |
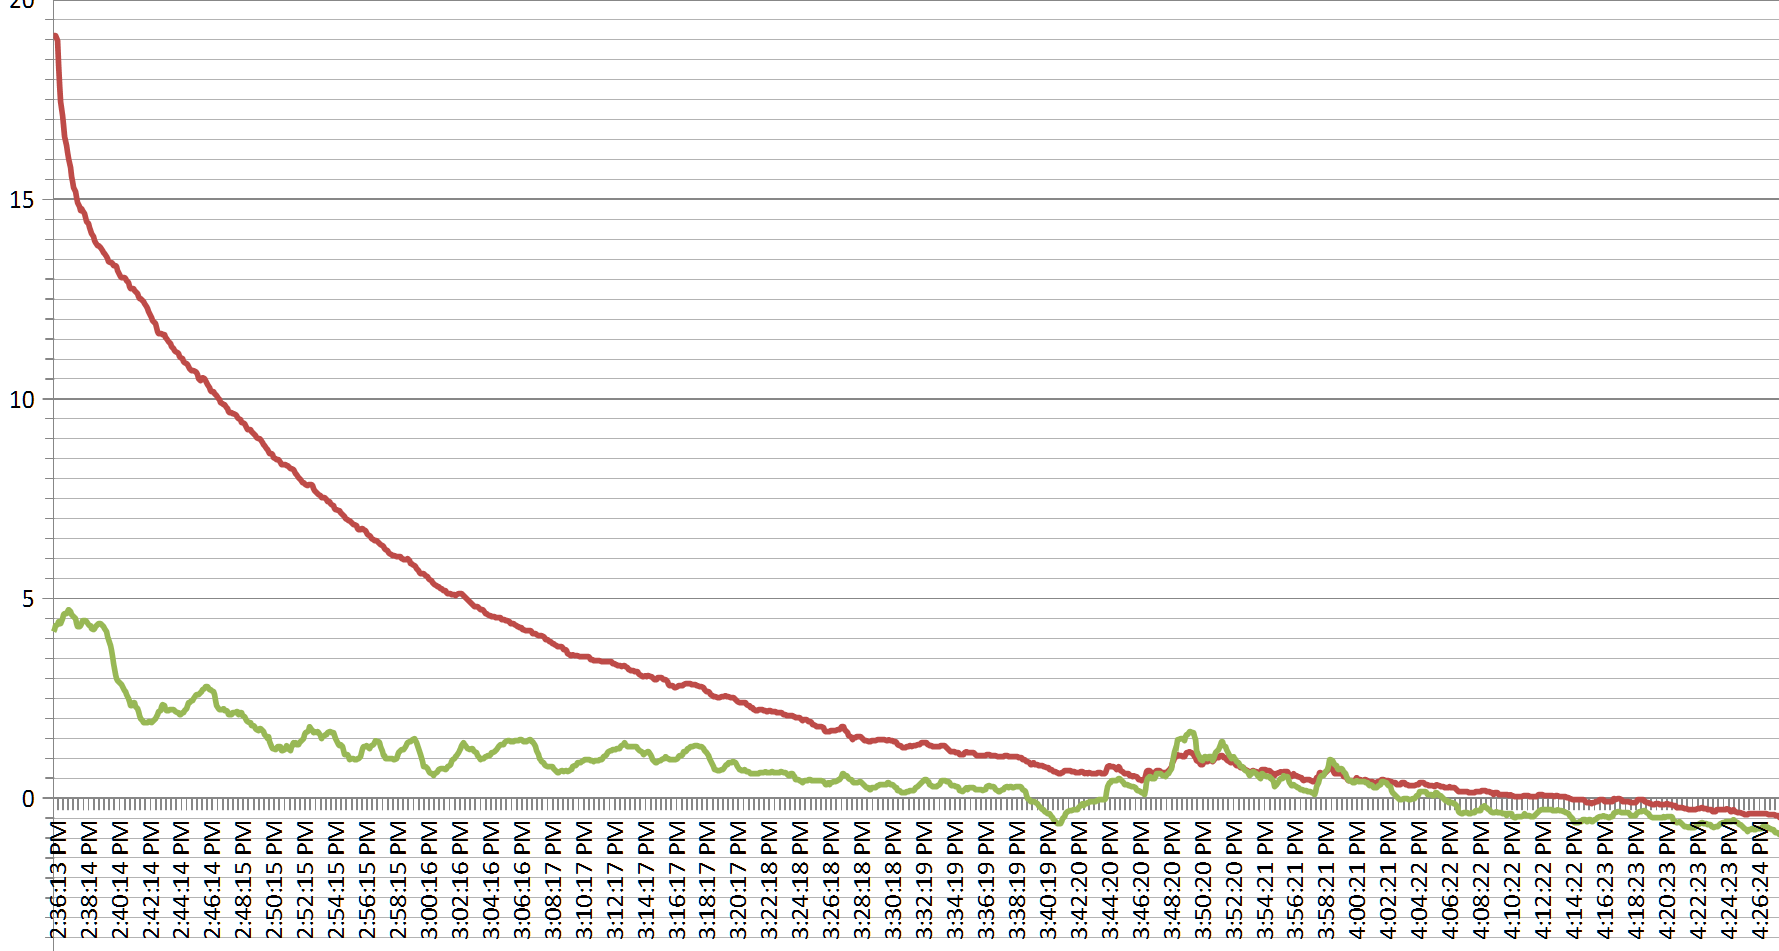
| Here is a temperature graph that shows the process of the scope primary mirror cooling. Green line is the temperature of the air, red line is for primary mirror temperature. Vertical axis is in in degrees Celsius. |
 |
|
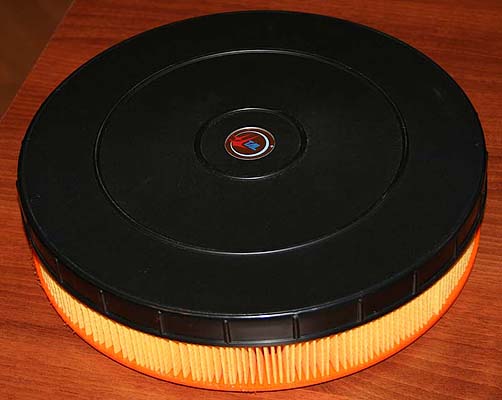
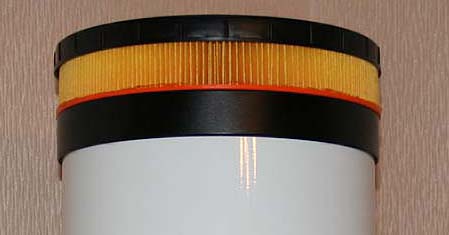
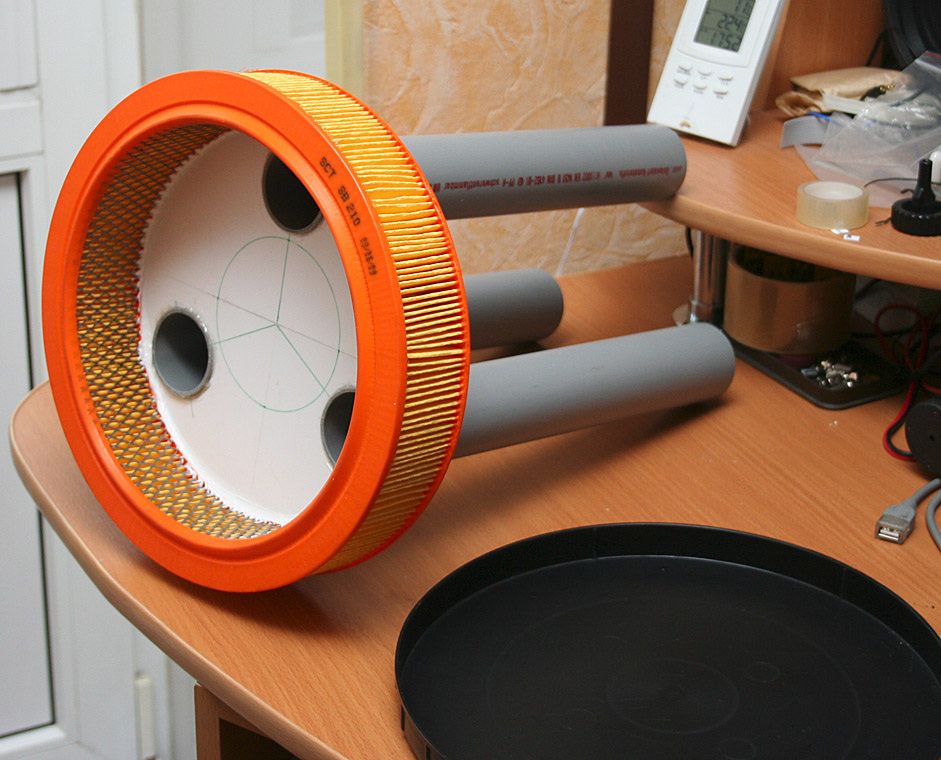
| Later the cooling system was modified to increase it's efficiency. Three plastic tubes bring filtered fresh air right to the surface of the primary mirror. Additional measurements gave me the following speed of temperature drop: temperature difference decrease 2 times in 20 minutes. For example: I bring my scope from 25C in my room to -5C street temperature. Initial temperature difference is 30C. After first 20 min difference is 15C, after next 20 minutes difference is 7.5C, after next 20 minutes it is 3.75C, after next 20 minutes it is less than 2C and I can start my imaging session, the scope is ready. Here is a final design of the filter system: |
  |
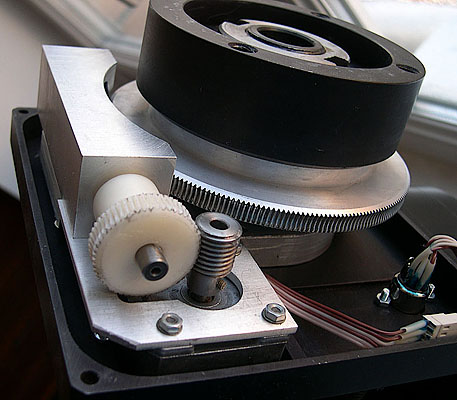
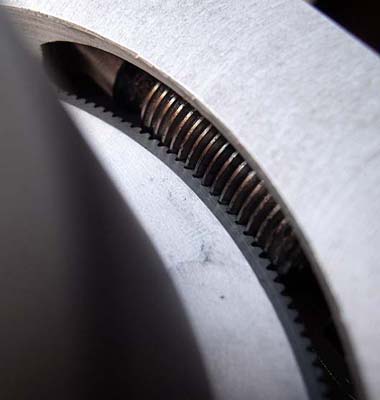
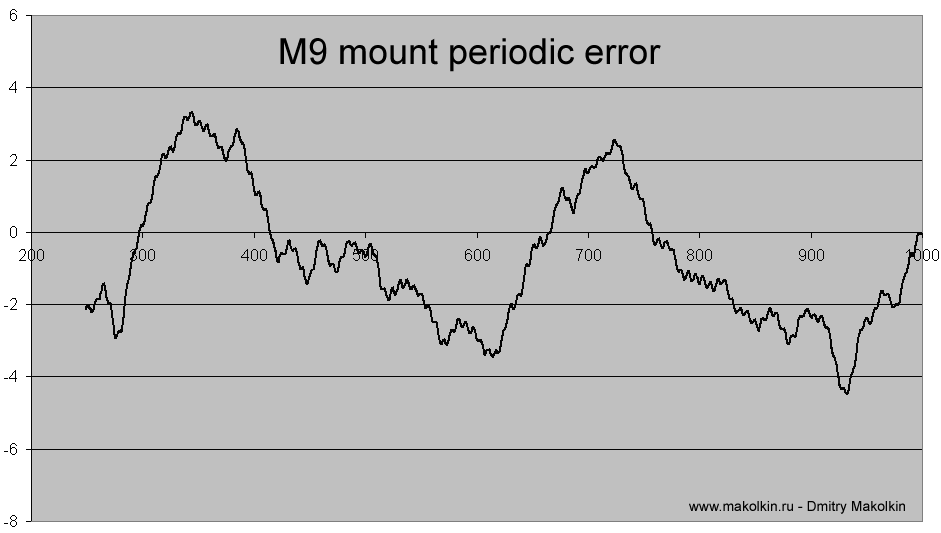
The mount that I use is rather unique and was developed by Mihail Teleshkov from Kaluga, town that is 100km from Moscow, well known for it's industrial cluster. The mount was designed at the beginning of 2000's and the main idea was to make a high quality mount for astrophotography. Special attention was made to reduce the periodic error and avoid backlash in the worm gear. The kinematic scheme consists of 2 worm gears, so the number of the components is minimized. Backlash in the main worm gear is removed completely, as the worm is not mounted permanently, it can move so that the special spring pushes it towards the gear. This is a view of the dec axis: |
| The results of this design is good, periodic error is small, this graph shows 2 periods of worm and the PTV is about 6". It is much smaller that on the typical EQ6 mount. |
As initial design of mount grives does not allow Go-To finctions and computer control, upgrade should include these important features. After some researches I desided to implement Go-To upgrade kit offered for Synta HEQ-5 mounts. It includes two stepper motors, new gears to put them on the worm axis, electronics plate and hand controller. Adaptation of the drives and gears could be a challenge if it's not possible to adjust gears ratio to the number of teeth of worm gear. Otherwise sideral speed and go-to calculations will be wrong and mount will not move as needed. Luckily it was enough to change the gear on motor axis and the new gear was available from stock. I used 16 teeth 0.8 module gear from Sterling Instrument (catalog number is S10T08M016S0505). Here is a video fo new drives installed: |
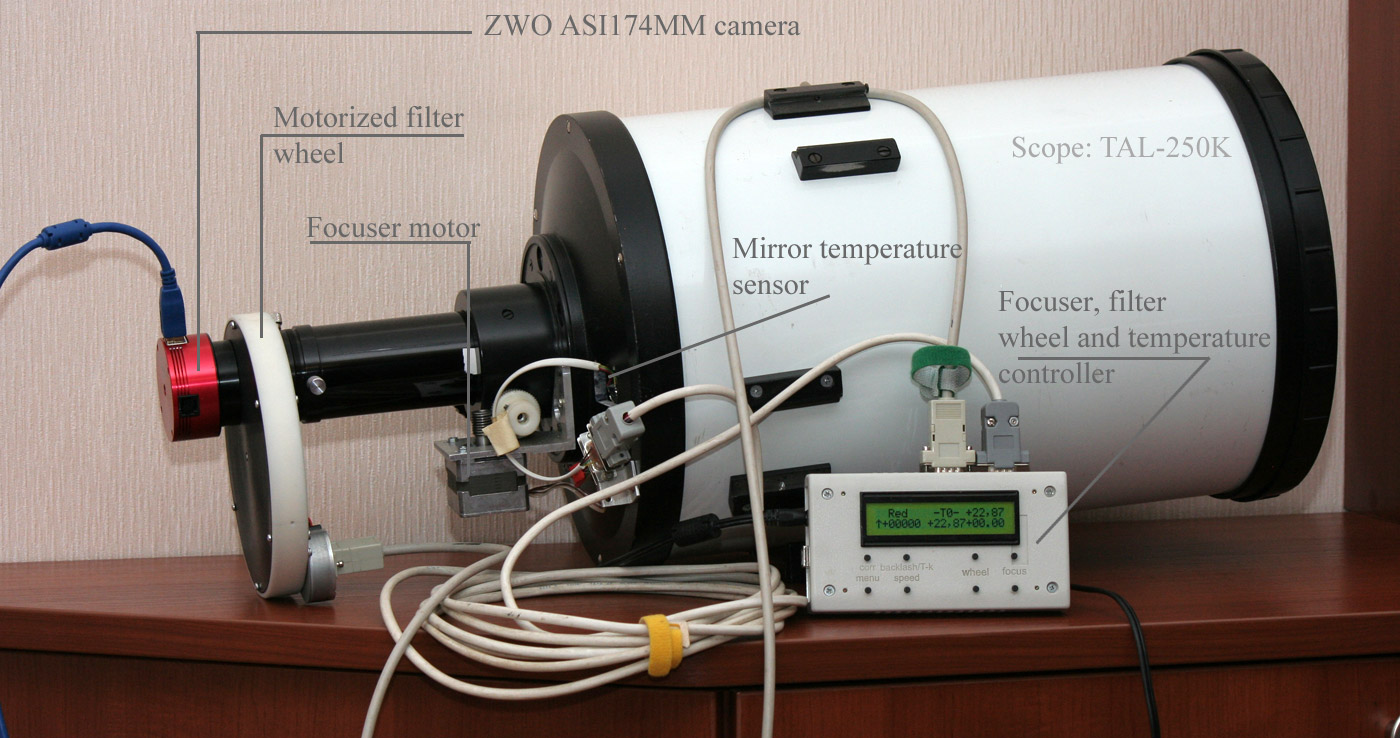
Several cameras were in my hands since 2004, and almost all of them were from machine vision industry. I can mention DMK31 camera, Basler camera with icx618 CCD sensor, Point Grey Blackfly camera with e2v CMOS sensor. My current camera is ZWO ASI174MM camera with Sony IMX174 CMOS sensor. |
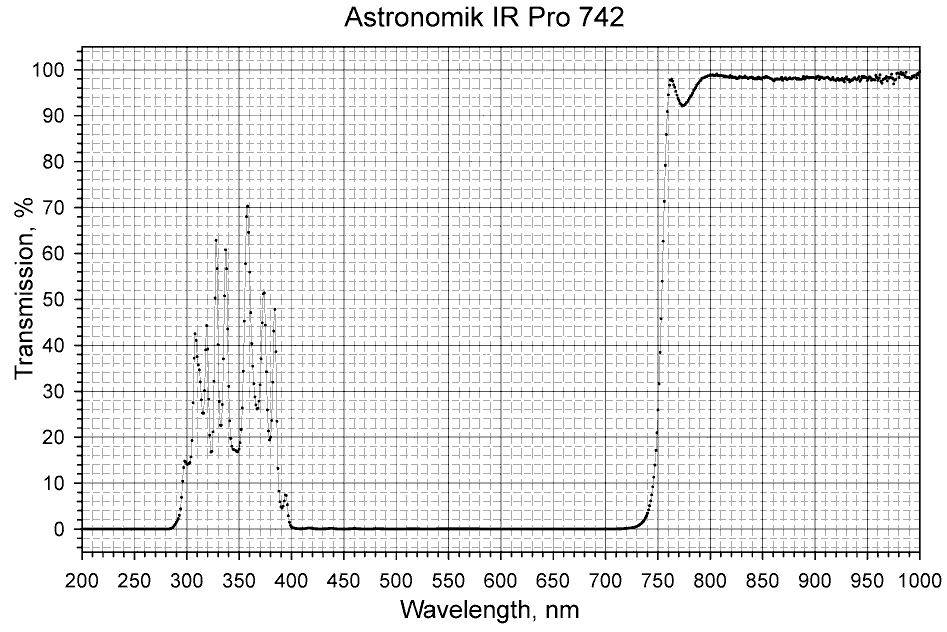
The most often used filter is Astronomik Ir Pro 742, that gives me enough light for imaging in infrared. Influence of the seeing is smaller in this spectral area, and I can get sharper images with this filter, although it is increasing the necessary exposition time or gain. Here is a filter transmission curve, I had a possibility to measure it by high quality spectrophotometer: |
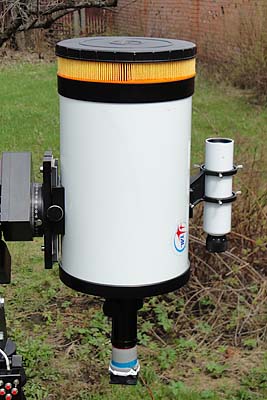
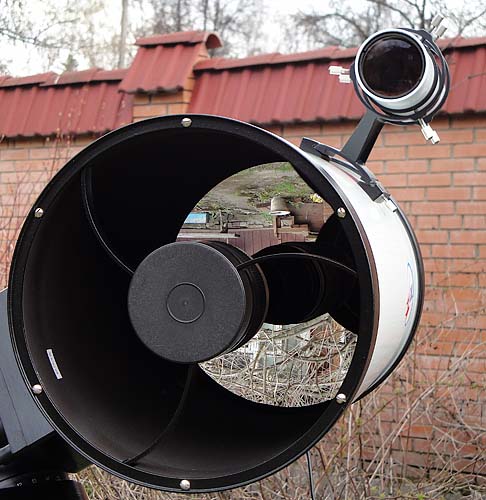
Later I got a nice motorized filter wheel made by one of the local amateurs and a special controller for it that also includes temperature control (primary mirror and ambient temperature) and motorized focuser control. This controller could be connected to computer and controlled via ASCOM driver. Here is a picture of my current setup: |